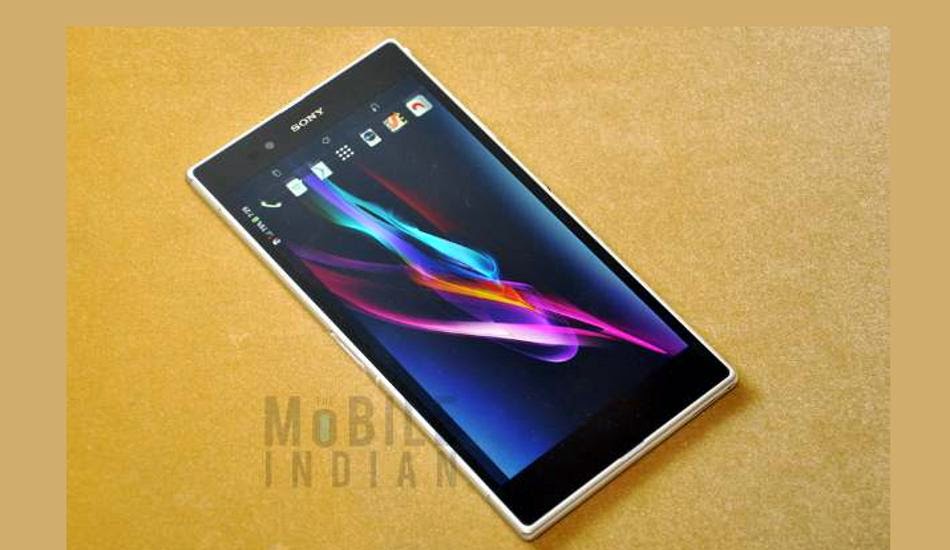
How To Update Sony Xperia Z Ultra To Android 4.4.2 Custom ROM
How To Update Sony Xperia Z Ultra To Android 4.4.2 Custom ROM
Warnings:
Below are some warning statements that you must be knowing before preparing to Root or Install Custom Rom in your Sony Xperia Z Ultra Android Smartphone/Tablet:- Rooting/Installing Custom ROM is not an authorized process hence you’ll be losing all your warranty benefits over your Sony Xperia Z Ultra Android Smartphone after Rooting/Installing it.
- There are certain risks of damaging your Android Smartphone/Tablets while Rooting/Installing Custom ROM in it. Hence, it is recommended that you proceed at your own risk and we are not to be held responsible even if your Smartphone gets damaged during or after completing the Rooting/Custom ROM installation process.
- You might not receive any future official software or firmware updates after rooting and installing Custom ROM in your Sony Xperia Z Ultra Android Smartphone.
Before You Begin:
- You need a Windows based PC or Laptop.
- Your device must have Custom Recovery installed first. Click Here for Custom Recovery flashing method.
- Your device must be Rooted first. Click Here for Rooting method.
- This Custom ROM is only for Sony Xperia Z Ultra C6802 / C6806.
- Download and Install Sony Xperia Z Ultra USB Drivers in your PC.
- Enable USB Debugging in your Sony Xperia Z Ultra .Click Here if you don’t know how to enable.
- Your device must be charged 50% minimum.
- Make backup of device data for safety.
Download Requried Files:
How To Install Custom ROM in Sony Xperia Z Ultra:
- Follow all the steps given above first.
- Download both files given in Download Required Files section.
- Connect your device to PC with USB cable.
- Transfer both downloaded files ( Custom ROM and GApps) in external SD card of your device.
- Now disconnect your device and turn it off.
- After turning off your device, boot your device in Recovery Mode ( When the phone is powering up, as soon as the green LED turns on, press Volume Up for Custom Recovery).
For CWM/PhilZ Custom Recovery:
- First Wipe Cache in CWM Recovery.
- Then Wipe Data/Factory Reset in CWM Recovery.
- Now go to advance section and Wipe Dalvik Cache.
- Navigate to Install zip from sd card and select choose zip from /sdcard.
- Select Android CM11 Custom ROM and confirm your selection on next screen.
- After flashing of Custom ROM, go back and flash Google Apps .zip file.
- After successful installation, go back to main menu and select Reboot Now to restart your device.
For TWRP Custom Recovery:
- First select Wipe button and Wipe Data, Cache and System.
- Swipe every time for confirmation.
- Now go back to main menu and tap on Install button.
- Navigate to CM11 Custom ROM and install it.
- After successful installation of CM11 zip file, select GApps zip file and install it also.
- After installation of both file, select Reboot Now and restart your device.
Solve Signature Verification Error:
- This step is only if you are facing any type of error during installation of zip file.
- Go to Custom Recovery and navigate to install zip from sdcard.
- Navigate to Toggle Signature Verification and Press Power Button and See if it is disabled or not. Disable it and then Install the Zip without any Error.
How To Update Sony Xperia Z Ultra To Android 4.4.2 Custom ROM
 Reviewed by Rakesh
on
April 08, 2014
Rating:
 Reviewed by Rakesh
on
April 08, 2014
Rating:


No comments